TL;DR
I found 3 rolls of Kodak Rapid Process Copy film at a French flea market. It’s a blue-tinted film made for radiography, rated at ISO 0.06, and expired since the 80s. My first try, shot at ISO 0.06 to 0.02 (30s to 1 min exposures), came out almost completely blank. It turns out the film gives positives in regular B&W chemistry, so a blank frame means overexposed, not underexposed. On the second try I bracketed way higher (ISO 1 to 6) and got one near-perfect frame at f/5.6 for 5s. So in daylight this film behaves more like ISO 4–5. Development (ID-11 stock, 7 min at 20°C) stayed the same both times and seems fine.
The find
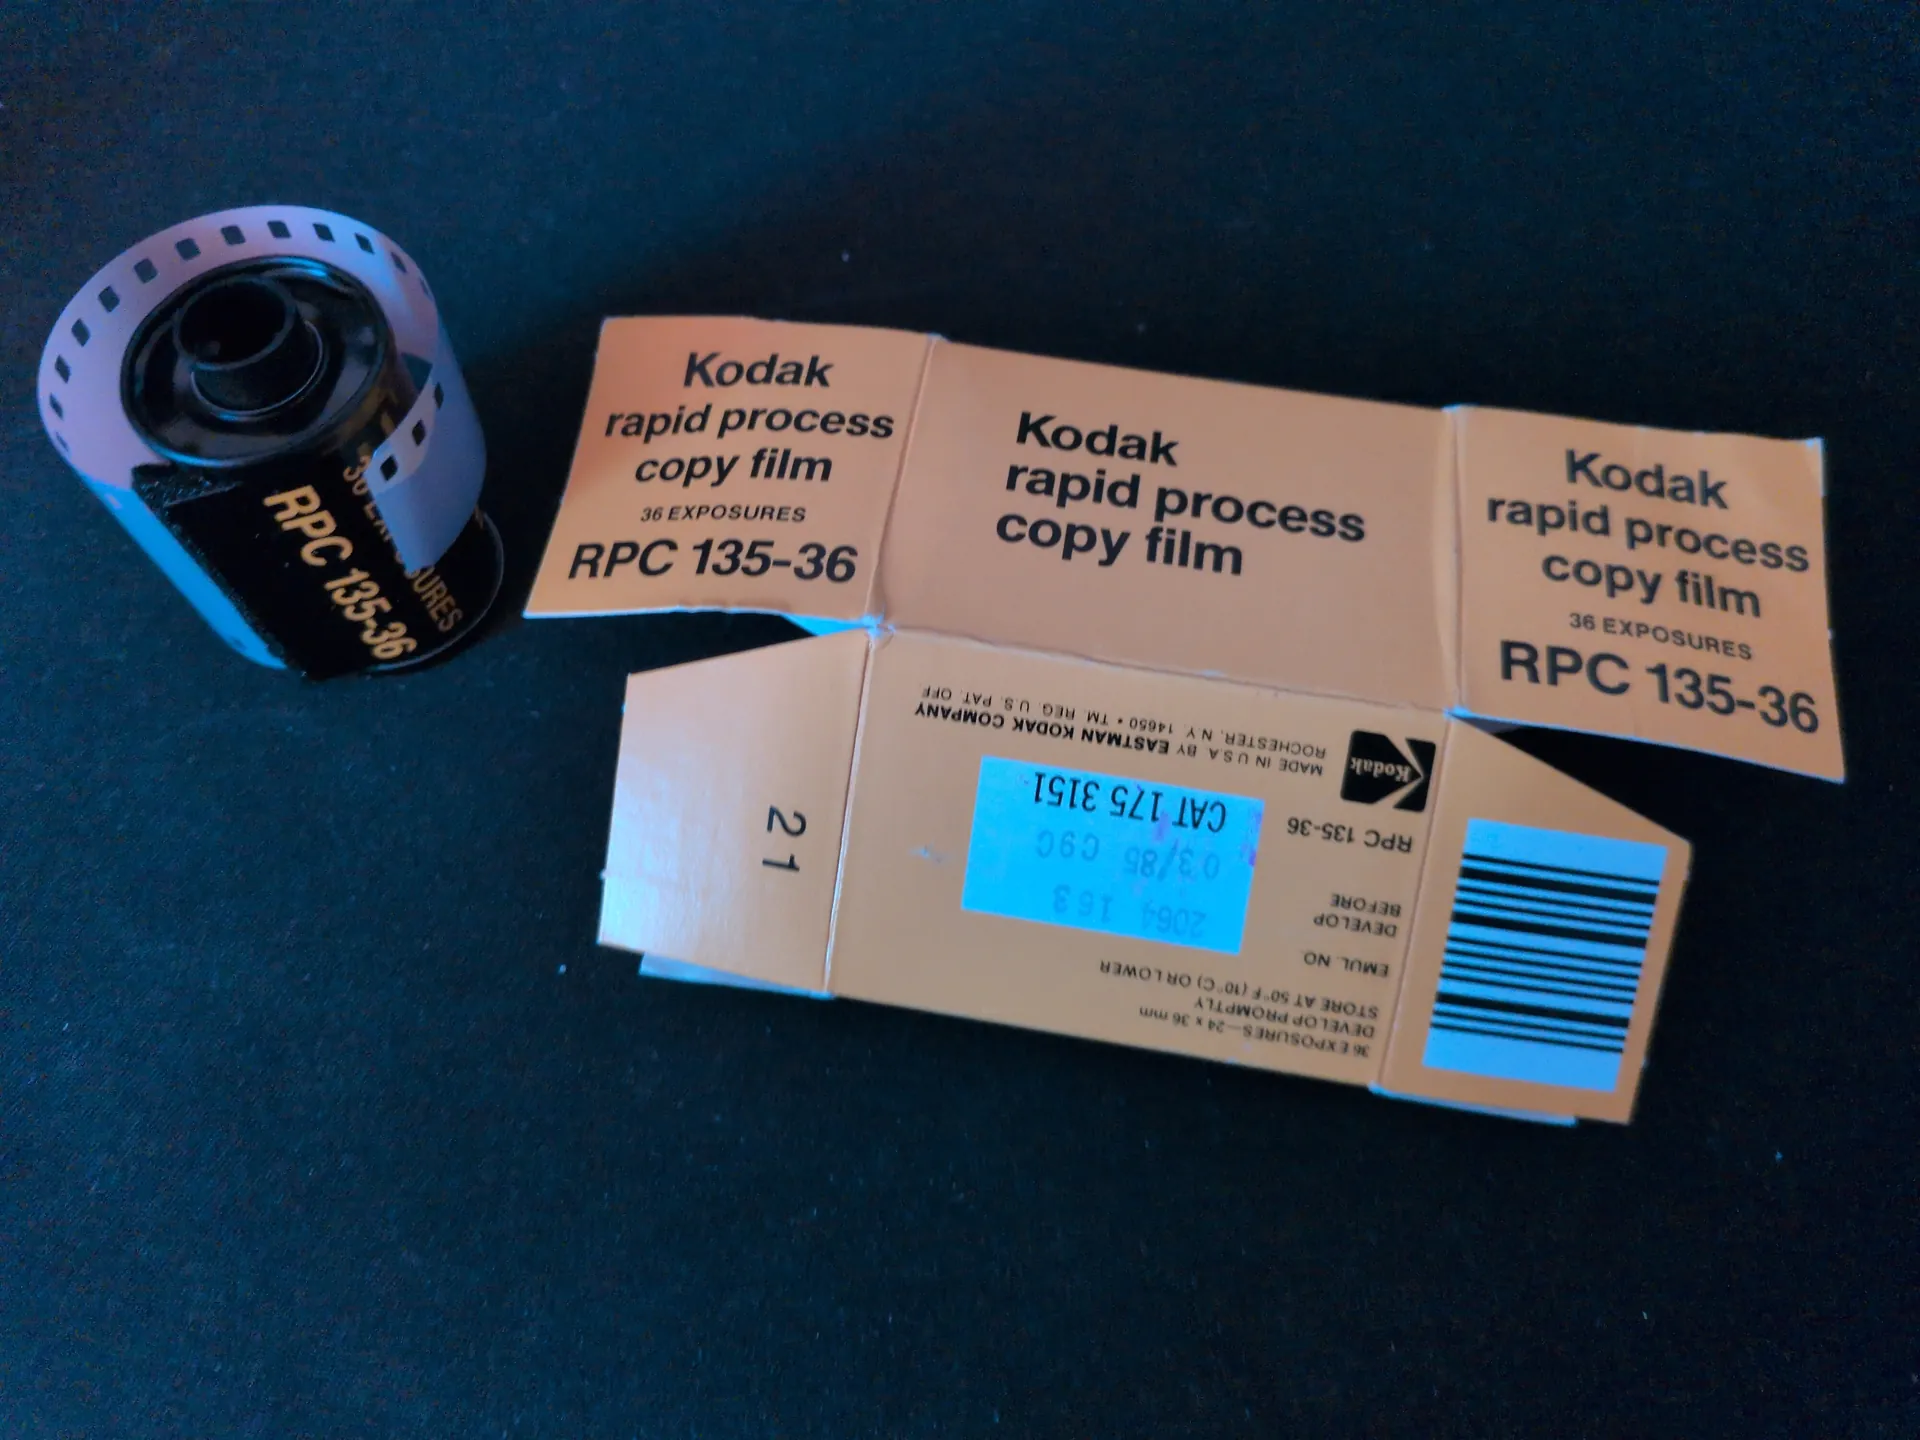
I go to a lot of flea markets in France, and you can find quite a lot of different things there. Strangely enough, I stumbled upon an old film stock I had never seen anywhere else: 3 rolls of Kodak Rapid Process Copy film (plus another one I’ll probably talk about in another post).
This film is something, to say the least. It was mostly used in radiography, so it’s not a regular black and white film at all, and it has a strong blue tint. I found 2 or 3 forums that talked about it, with people who tried developing it in regular black and white chemistry and succeeded.
And unfortunately that’s not the worst part: the film is rated at ISO 0.06, the lowest ISO I’ve ever seen. When I opened the roll, the film manual was even in the box, which is pretty uncommon.

As if that wasn’t enough, the film expired in the 80s. That’s also an inconvenience, since you have to compensate the exposure even more, bringing it to something like ISO 0.02 or 0.04. At least that’s what was discussed in the forums, but I’ll make sure to bracket my shots during tests to really pinpoint the right exposure. For example, to get a good picture on a sunny day you’d need around 30 seconds of exposure, which is huge.
Planning the shoot
So how do I plan to shoot this? First, I split the 36-exposure roll into 4 smaller ones. That way I can test exposure and development time without having to shoot a whole roll each time.
I’ll keep the exposure simple, to be fair: I’ll meter for ISO 0.06 and not take the expiration date into account. But to know what exposure I’ll need for the future rolls, I’ll bracket: one shot at ISO 0.06, one at 0.04 and one at 0.02. So I kinda take the expiration into account, but in a way that’s better for testing.
Of course, I’ll pick a bright sunny day to give the film as much light as possible, so I don’t have to expose for minutes.
The first try
The shooting
Spoiler alert: the first try wasn’t good at all. But at least it gave me some indications on what to change to get better results. I took two different shots and bracketed both.
I shot on a bright sunny day as planned, with a camera I know works perfectly and has absolutely no problems. With that out of the equation, I used a 28mm to get more light in, but still stopped down to f/5.6 to keep the image pretty sharp even if the film is bad. I brought my tripod and shutter release cable so the image wouldn’t be shaky with such long exposures.
With everything set up, I metered the light. I kept it simple with the Light Meter app set to ISO 0.06 and got a 30s exposure, which is kinda what I was expecting, so I shot that.
Then I bracketed for ISO 0.04 and ISO 0.02, since the film expired in 1985. The general rule is one stop per decade, so I wasn’t even following it entirely, but it still gave me some margin of error:
- ISO 0.06 → 30s
- ISO 0.04 → 45s
- ISO 0.02 → 1 min
This might seem excessive, but with these kinds of ISOs it really isn’t crazy. I had a seventh frame left, so I shot another one at a minute since that spot was more in the shade than the others.
With that done, it was time for another really important part.
The development
For black and white film I usually use Ilford ID-11 with Ilford Rapid Fixer and Ilfostop (yeah, I’m full on Ilford, but I don’t have time to try and discover other things for now). For the final wash, this time I also used Kodak Photo-Flo.
I really didn’t have any indication for this film with this developer. In the forums, people used XTOL 1:1 for about 5 minutes. Since that’s not the same as ID-11, I tried to find how the two compare but couldn’t find anything. So I asked AI (Claude Opus 5.5) to do a deep search on how to get a similar result with ID-11, and it told me XTOL 1:1 is roughly the same as ID-11 stock.
So I based my development on that and added a bit more than 5 minutes since it’s not exactly the same: 7 minutes total at 20°C. For agitation I followed Ilford’s recommendation:
- Continuous agitation for the first minute
- Then every minute, agitate for 10s with 4 inversions
After that I continued with the usual stop bath, fixing and rinsing. Nothing special, same as every black and white film I develop.
The results
Then it was time to take out the negative, which was hard. I’d say nothing came out, but that’s not 100% true. The film looked 95% transparent, which usually means nothing was exposed, but the last frame was somehow a bit visible. And to my surprise, when inspecting the film a bit more, I could see all the images. They’re very VERY VERY thin and barely visible, but there’s still something at least.
Now, this film is normally a black and white reversal film, meaning that if you develop it following the manufacturer’s recommendations, you get positive slides. Since I used a regular black and white process, I should have gotten a regular negative, but other people sometimes got positives too, so I wasn’t really sure either. Based on the last frame, and the fact that the sprocket holes are fully black, I think I had positives.
That’s kinda good news, because it means an overexposed frame won’t be fully black like on regular B&W film, but fully transparent instead. And the fact that the last shot, the one most in the shade, was the most visible means I was really overexposing. I know it seems strange with an ISO 0.06 film, but it is what it is. Here is what the last shot looks like.

Also, based on that last frame, I’d say the development is okay, since the density looks pretty good. But I shouldn’t rest on my laurels either: I’m not an expert at all at judging development quality, and I should definitely learn more.
With all this analysis done, time to go out a second time!
Planning for the second shot
With all the info above, the second attempt is pretty easy to plan. First, I don’t want to change my development at all, so there are as few variables as possible changing between try 1 and 2. In the same mindset, I’ll use the same camera, lens and aperture.
With development and camera out of the way, I’ll go way below the expected exposure time, bracketing for ISO 6, 5, 3 and 1. It’s the opposite of every rule in film photography I know, but we’re in the trial and error phase right now. Plus, based on how thin the frames were, I’d say they were at least 4 to 5 stops off.
With this test I’ll know for sure whether the problem was exposure or development. If I don’t see more of an image this time, I’ll know almost for sure it’s the development.
The second try
This part will be quicker since nothing changed. I packed my tripod and my good old Konica on a bright sunny day and went to the same spot for a more accurate comparison.
I tried to shoot for the specific ISOs, but I was kinda in a rush since I went at around 6 p.m. and had about 25 minutes of sun left. I went too fast and didn’t set the right speed for the last shot, so it ended up the same as the previous one. I also didn’t shoot the ISOs in order, so the speeds are kinda irregular. But you’ll see I still got some great results.
Development was exactly the same, again for a better comparison.
The results
Now the moment everyone’s been waiting for: the results! Here’s how the film looked right out of development:

Some frames are now underexposed, but one image really stands out. The one in the middle is, to me, near perfect exposure, or maybe a tiny bit underexposed.
Here’s the actual scan of it (don’t mind the quality, I was also in a rush when scanning so I scanned like shit):

It was scanned with a Fujifilm X-T5 and a Laowa 65mm macro lens. It’s not perfect at all, but it gives a rough idea of what the film will look like once properly shot, developed and scanned. The scan is straight out of the camera: I didn’t invert it in Capture One, since the film is already a positive.
This frame was shot at f/5.6 for 5s with the same 28mm as the first try. That means in broad daylight, this film behaves more like ISO 5, or 4 max.
Conclusion
In the end, this Kodak Rapid Process Copy had me going in circles for a while, but it’s not that tricky once you understand how it works. The biggest trap is treating it like a regular B&W film: since it comes out as a positive, a blank frame means too much light, not too little. And despite its ISO 0.06 rating and 40 years past expiry, you should actually shoot it at around ISO 4–5 in full daylight. For me this is hapenning because the film is originally used in radiography, so with specific lights. As for development, ID-11 stock for 7 minutes at 20 °C seems to do the job well, even if I still plan to fine-tune things.
I still have two and a half rolls left, so the next step will be a proper shoot using this as a baseline, taking my time on it, and putting a bit more care into the scans. If you ever come across this film at a flea market, go for it: it takes some patience, but the results are worth it.